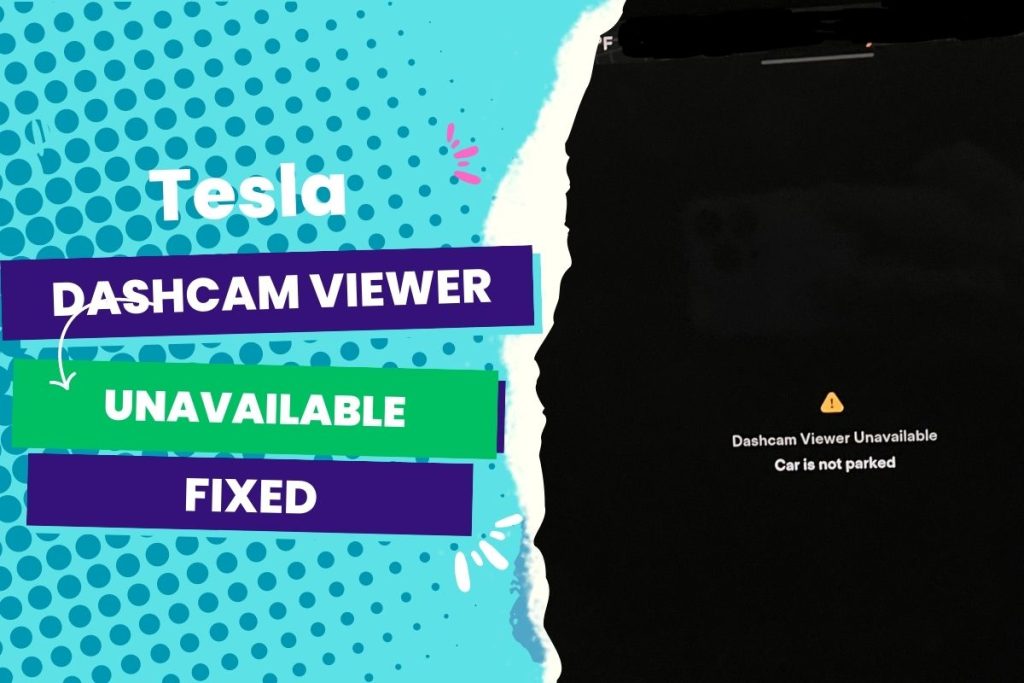
The Tesla Dashcam Viewer may become unavailable on your Tesla due to a corrupted USB drive, outdated software, or hardware malfunction. the best fixes include formatting the USB drive, updating the software, or restarting the touchscreen. But sometimes it requires a little more technical troubleshooting.
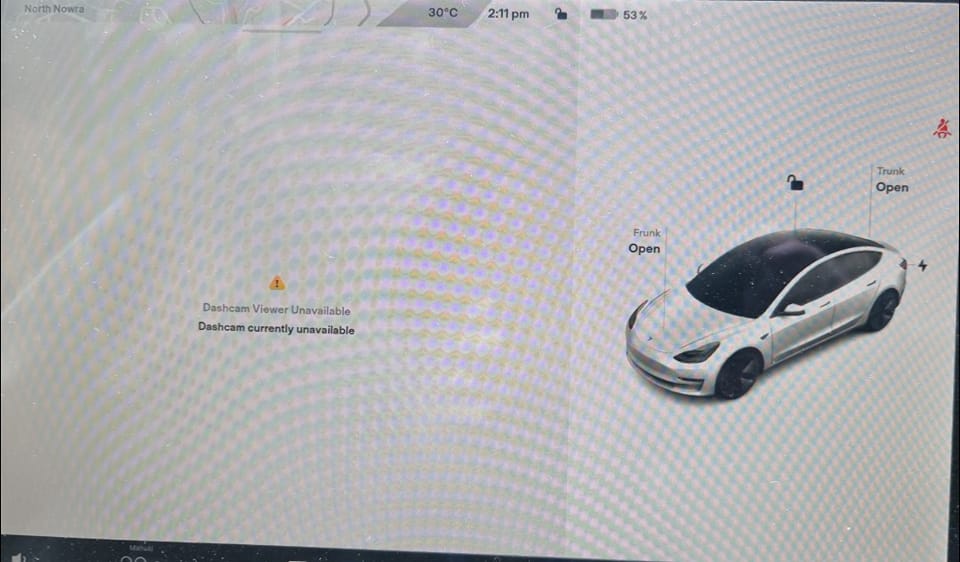
The dashcam feature is one of Tesla’s finest technologies and records video while driving with four cameras (front, side repeater, and rear). If you own the Model S and Model X with HW2.5 (made July 31, 2017), you could see “Dashcam viewer unavailable. Check the USB error message on your screen.
Many Tesla owners have testified on forums that the famous two-thumb salute, or leaving the car parked for a while, normally restores operations. But in some cases, these simple tricks don’t work. In the rest of this post, I’ll hold your hand and walk you through three surefire fixes that will solve the dashcam viewer problem on your Tesla.
You Can Skip To Sections Here
In many cases where I’ve had to help solve the ‘Dashcam viewer unavailable” issue for Tesla owners, it is usually an issue with the software and not always with the USB drive.
With this in mind, the report from DriveTeslaCanada, where they spoke to a Tesla Service Team member about the issue, makes sense. According to the interviewed Tesla employee, the root cause of the error is the flash drive unmounting, but other possible factors come into play.
These are the four best fixes for the “dashcam view unavailable’ issue on Teslas
Format your drive
Inspect your USB type.
Check if you have a partition for Dashcam on your USB drive for music
Delete files from the dashcam USB.
1. Format your drive
Formatting the drive has proven to be one of the most common fixes for many Tesla owners encountering the dashcam view unavailable problem. This may be the only thing you have to do to solve the issue. Here’s how:
Step 1: First, disable the dashcam from the settings menu by pressing and holding on “dashcam.” Be sure that the red dot is gone before releasing it.
Step 2: Open your glove box, then unplug the drive. Wait a few seconds, then plug it back in.
Step 3: Go into the settings and format the drive. Navigate on your screen to Quick Controls > Safety > Dashcam section (at the bottom) and then hit on Format USB Drive > Format option. Then wait until you see the “Success!’ message.
Step 4: Next, enable the dashcam again.
By now, the sentry and dashcam should be working without issue. Meanwhile, while holding down the “dashcam” on the settings menu (step 1), ensure you hold it down long enough. Say, 5 seconds thereabout.
2. Inspect your USB type.
Another possible culprit responsible for the error message is the USB driver type, a possible variable for any vehicle that uses driving recorders and requires USB for data storage.
First, confirm that the USB you use for the dashcam storage is USB 3.0, 3.1, or 3.2. This is the recommended type for Tesla since these versions speed up operations (viewing and formatting).
If your USB type doesn’t meet the above specification, then you have to replace it with one that accommodates the data needs of TeslaCam and Sentry Mode.
Meanwhile, persistent unplugging of your TeslaCam USB can corrupt your files and require you to reformat it once more. So it’s best to leave your USB plugged into your Tesla once you replace it with a new one until you need to review the footage.
3. Ensure you have a partition for Dashcam on your USB drive for music.
So, you have two USB ports — one for phone charging and the other for storing music. If you use the USB for storing music to store dashcam data, you may face this issue because drives are required for the music and your Tesla V9 Dashcam.
The only way to make this happen and still have vacant ports for phone charging is to split the USB drive partition into two for music and dashcam data storage, respectively.
Fortunately, you can do this within the built-in Windows tool. You must delete the partition and then create two partitions on the USB.
Follow these steps:
Step 1: Remove the USB from your car and connect it to a laptop or computer.
Step 2: Press the Windows and R keys together to open the Run window and type “diskmgmt.msc.”
Step 3: Click OK to launch Disk Management.
Step 4: Right-click the partition and choose Delete Volume.
Step 5: Right-click the unallocated space and choose “New Simple Volume.”
Step 6: You can now set the size and drive letter for the new partition, select the FAT32 file system, and give a volume label of TESLACAM.
Step 7: Repeat the operations to create another partition and give it the label “Music.
Step 8: Open the TESLACAM partition and create a folder called TeslaCam, without which your Tesla Dashcam won’t write data to your USB.
With this out of the way, you can move the music files to the music partition.
If you still get the dashcam viewer unavailable after doing this, it could be a sign that the storage is complete and you need to free up space on the USB.
4. Delete files from the dashcam USB.
To fix the issue of the Tesla Dashcam not working, it is sometimes necessary to delete specific files from the Dashcam memory stick.
This is because when the USB gets full, the dashcam will continue recording but won’t save anything. Therefore, freeing up space on the USB is a sure way to go.
Aside from that, deleting recording files from time to time is something you should do since the old files won’t be deleted automatically.
To do this, follow these steps:
Step 1: Remove the dashcam USB from the recorder and connect it to your computer.
Step 2: Open the dashcam folder and navigate to the SavedClips folder. This is where the recordings of older data are stored.
Step 3: Delete as many as you want to.
Step 4: Insert the drive into the port and see if it works.
In Summary
The Tesla dashcam being unavailable is a common issue discussed in Tesla owners’ communities. It could be due to an internal issue or a telltale sign that the USB drive has gone bad.
For many Tesla owners, hard pressing the two scroll buttons of the steering wheel for around 10 seconds and allowing the main/central screen to reboot has been the quickest fix. But this approach doesn’t work for others.
In such a situation, removing the USB from the port, leaving it out for 20 seconds, and reinserting it could do the trick. If all else fails, it’s time to replace the USB with a new one or contact the Tesla support team for advanced help because it could be a fault from a damaged hardware component.
FAQs
Where is Tesla’s dashcam USB?
For Model 3 and Model Y, the USB port is located in the glove box. For Model 3 and Y, the USB port is located in the glove box. The one on the right is specifically designated for the dashcam feature.
The dashcam USB port is in the center console for the Model S and Model X. Open the center console lid and see a USB port on the bottom of the storage compartment.
What USB is recommended for the Tesla dashcam?
Tesla recommends using a USB drive of at least 32GB with a high endurance rating. You must use a USB drive compatible with Tesla’s dashcam system to use the dashcam feature.
Why is my Tesla dashcam viewer slow?
The Tesla dashcam viewer can become slow for a variety of reasons. One possible reason is a slow USB drive, which can affect the loading speed of the dashcam footage. Another reason could be large video files, which can take up too much space on the USB drive and slow down the dashcam viewer.
To address these issues, ensure you use a high-quality USB drive with faster read and write speeds, keep the software up-to-date, and delete unnecessary video files.